Every rider knows that engine oil is a motorcycle’s blood and life fluid. Using the wrong oil can be disastrous, causing permanent damage to your engine. However, the right oil keeps your bike running smoothly and protects it from contaminants.
This guide will cover everything you need to know about Harley Davidson motor oil and how to change oil on Harley Davidson bikes. We’ll also be delving into signs you need to change your oil and what type of oil to use.
Harley Davidson has come a long way since its founding in 1903. After 120 years, the manufacturer has grown to be one of the most iconic motorcycle brands in history. Their state-of-the-art bikes have become a staple in bike culture.
If you own a Harley Davidson bike or you’re planning to purchase one, it’s important to understand how important the oil is, what type of oil to use, and how to change it. Using oil specifically manufactured for Harley Davidson’s is crucial because it’s specifically formulated to meet the requirements of their engines, from performance to cooling.
Signs You Need To Change Your Harley Davidson’s Engine Oil
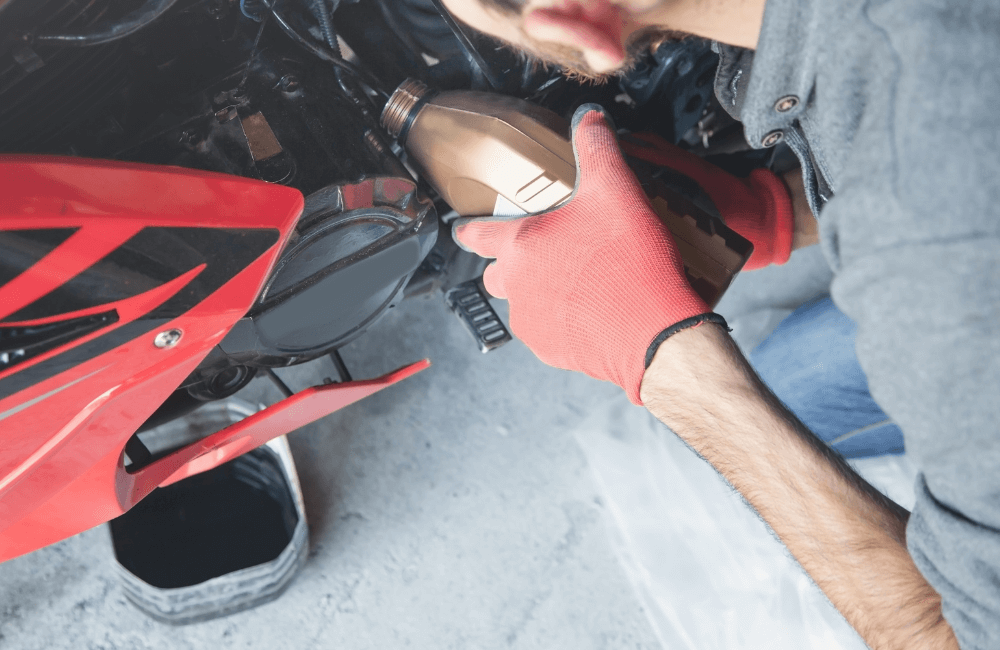
Regular oil changes are important for keeping your bike running smoothly. A general rule of thumb is that your bike’s oil and filter should be changed every 8,000 kilometres; however, we always recommend checking your owner’s manual.
If you’re unsure whether it’s time for an oil change, or you’re concerned there might be an issue, these are the signs you should look out for.
- If you start hearing unusual noises coming from your engine, like knocking or rattling, it may be a sign that your oil needs to be replaced or topped up.
- Fresh engine oil is almost golden or amber in colour. If you notice that your oil has turned dark or dirty, it is time for a change.
- When you conduct your regular oil inspections, if you notice the level is low due to consumption, it is time for a change.
- If there are any signs of overheating or poor performance, this may be due to the engine oil getting dirty and old. If this happens, it is a sign you need to change your engine’s oil.
- Some newer models of Harley Davidson bikes have an indicator light for when the oil needs to be changed. If this comes on, you should change the oil.
- If you notice a weird oil smell or burning smell coming from the engine area, it’s a sign that your oil and filter need to be changed.
What Type of Engine Oil To Use For Harley Davidson Motorcycle
Choosing the right type of engine oil for your Harley Davidson bike is crucial for optimal performance. It will help you maximise your engine’s lifespan, prevent issues, and ensure your bike rides smoothly.
The exact type of oil will depend on your bike’s model and production year, as well as the engine. For specific guidance for your bike, always consult with the owner’s manual.
The recommended viscosity grade for all temperature conditions is the Harley Davidson SAE 20W50 motor oil. It is ideal for use in most Harley Davidson bikes and is designed for use in ambient temperatures of 15°C to 28°C.
If you’re looking for an oil option for operation in ambient temperatures above 28°C, Harley Davidson recommends using their SAE 60 H-D® branded Motorcycle Oil.
If you were to put the wrong engine oil into your bike, the problems would differ in severity depending on the incorrect oil. If the viscosity of the oil is only minorly different to the recommended, there won’t be any major issues, but if it is significantly different, it can cause serious damage to your bike.
How To Change The Engine Oil In Your Harley Davidson
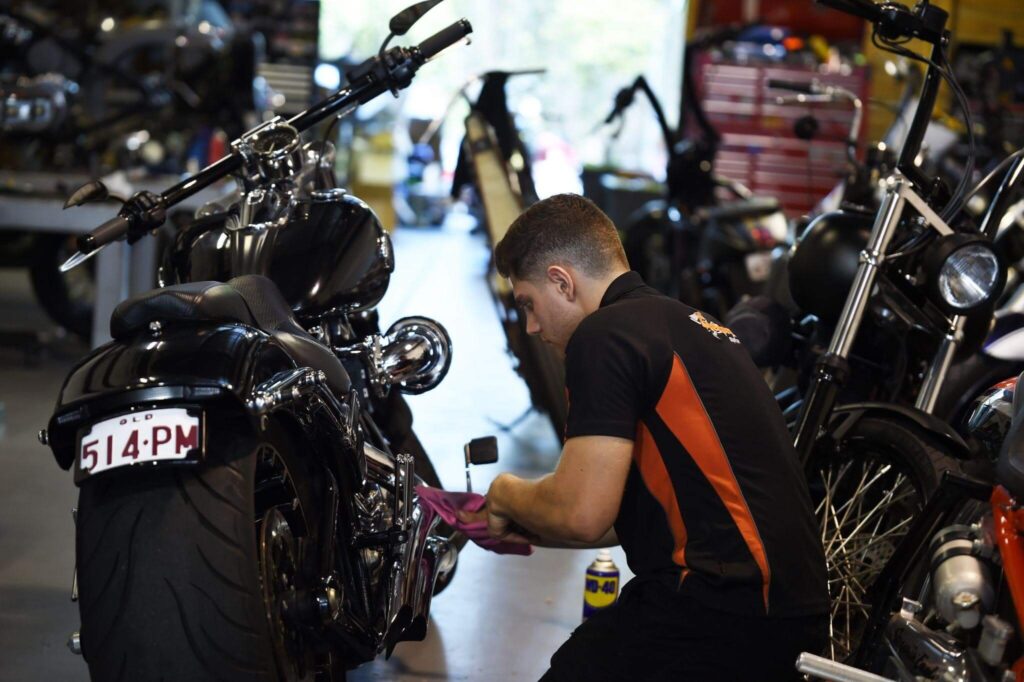
Changing the engine oil in your Harley Davidson is a simple procedure and can be done at home as long as you have the space and tools. If you don’t, we recommend going to a technician who specialises in Harley-Davidson bikes and uses their oils.
The steps are as follows:
- Warm up your motorcycle until the engine is at normal operating temperature. It’s easier to change your oil when the motorcycle is warm.
- Wipe down the area where your bike’s oil filter and drain plug are using a clean rag.
- After placing a drain pan underneath your bike’s drain plug, open the drain plug to put all the old oil into the pan.
- If you’re worried about drips going onto the bike or floor, using an oil catcher can help.
- Once all the oil has been drained, use an oil filter wrench to remove the old oil filter.
- Clean the oil filter mount flange to prepare for the new filter. If there is any oil residue on the crankcase or transmission housing, this is a good opportunity to clean them too.
- Install your new oil filter. Add a thin layer of clean engine oil to the filter’s gasket to help lubricate it. Hand-tighten the oil filter one-half to three-quarters of a turn after the gasket first connects with the filter mounting surface.
- Install your engine oil drain plug along with a new O-ring. For specifics on how to install the plug, please refer to your owner’s manual.
- Pour new oil into your motorcycle using a funnel. The correct level and type of oil are in your owner’s manual.
- After pouring new oil into your bike, check that the oil levels are correct by warming it up again and letting it idle for 1-2 minutes. You can use the oil’s dipstick to check the oil.
Things To Look Out For When Changing Your Harley’s Engine Oil
When changing your Harley’s engine oil, there are a few things to look out for. The last thing you want to do is incorrectly install the new filter or leak new oil everywhere. Below, we’ve compiled a few tips on things to look out for.
- Make sure to use the right viscosity and type of oil for your specific Harley model. Depending on the climate, you also may need heavier or lighter oil.
- Before starting, prepare the right tools and supplies. You’ll need a new oil filter, drain pan, torque wrench, filter wrench, and O-rings.
- If you’re concerned about getting oil on your bike or floor when draining, use an oil catcher.
- Always make sure that the funnel you’re using to pour oil into your motorcycle is clean. The last thing you want is contaminants going in with your new oil.
- Always warm up the engine before changing the oil. This helps the oil flow more easily and allows contaminants to drain more easily.
- After refilling the oil and installing the new filter, always check for leaks by starting the engine and letting it run.
Get Your Harley Davidson Serviced at Taverner Motorsports
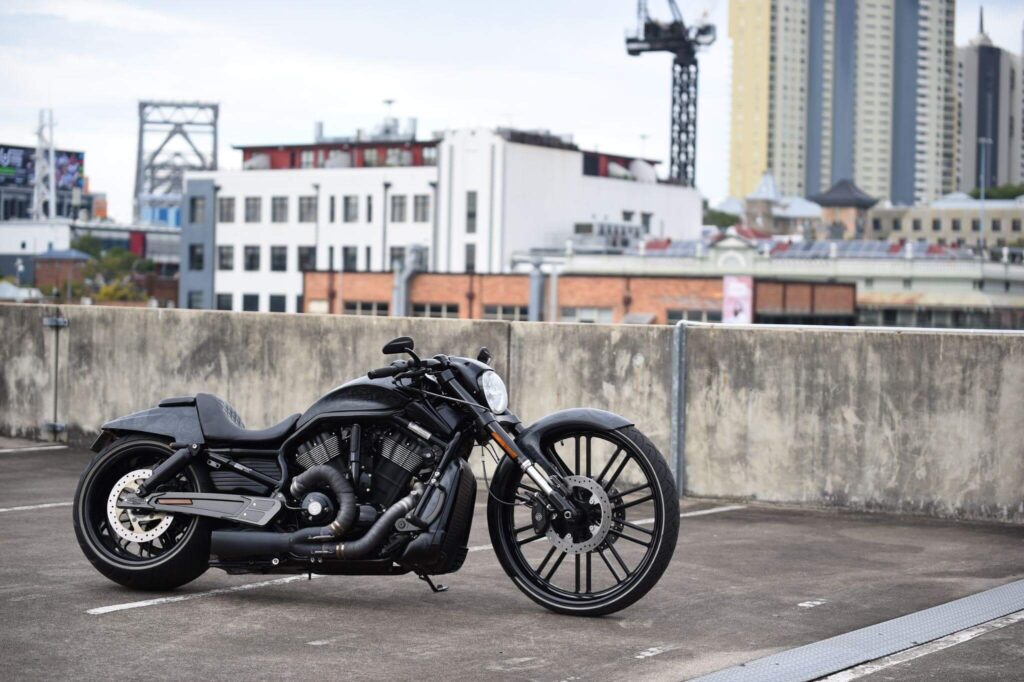
If you’re looking for a workshop that is experienced with Harley Davidson bikes, think Taverner Motorsports. Our team has decades of experience in the industry, working with all models of Harley Davidson over the years. Whether you need minor or major Harley Davidson servicing, or repairs, we’ve got you covered.
The Taverner Motorsports team can also help if you’re looking to squeeze more power out of your Harley Davidson. This includes supercharger kits, turbochargers, custom intercoolers, and engine work. We can help you get the most out of your bike with our Harley performance upgrades.
Our team will also ensure that any performance upgrades and modifications are 100% legal and comply with Australian standards. When you work with us, you can also expect complete transparency. Our team will keep you updated with estimated costs, always seek permission before acting, and give you a timeframe for completion.
If you are looking for a reliable motorcycle workshop to handle all your Harley Davidson servicing needs, contact us today and request a quote. The Taverner Motorsports team would love to help you with your bike.
